Before and After from Montreals Mile End
Before and After | Photoshop-Lightroom
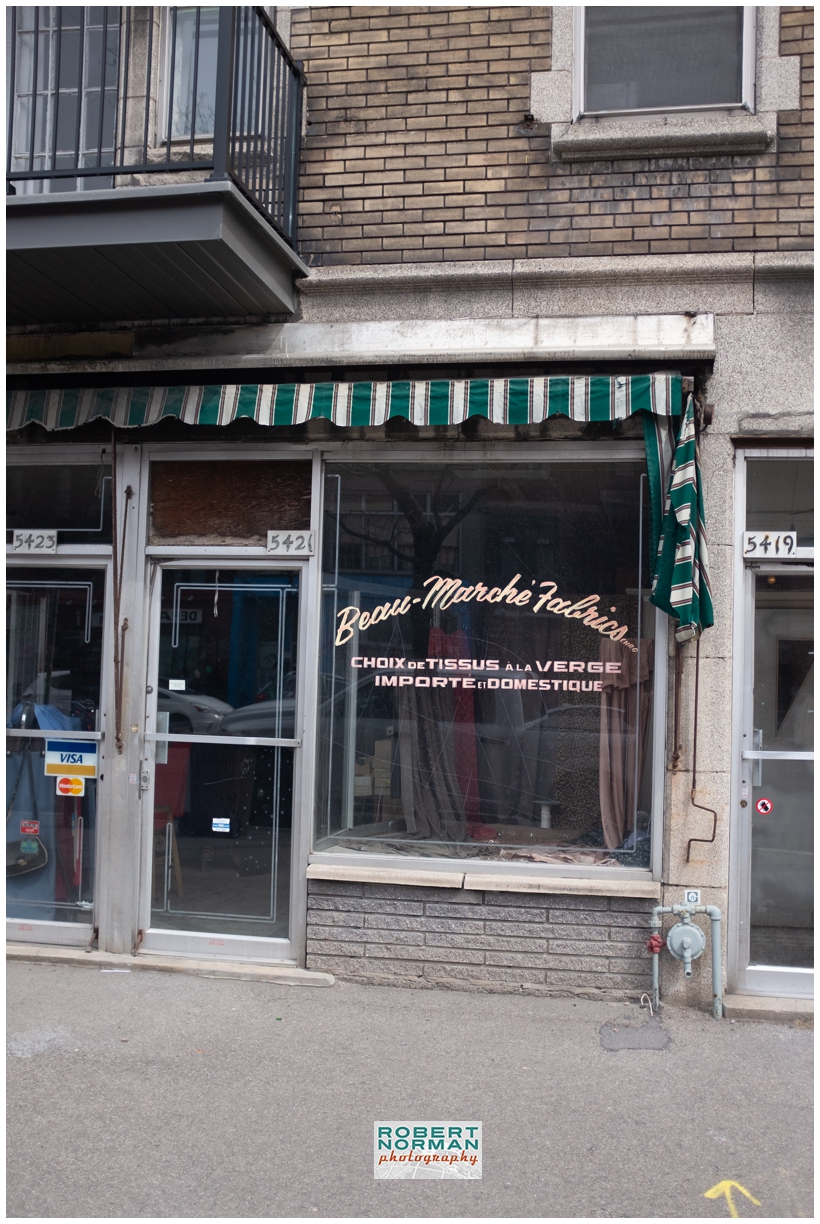
Now and then I like to ‘peel back the curtain’ if you will and show a before and after. Much of the time when I shoot like this, especially on vacation, I am pre-visioning the final image as I take the shot. This was photographed with my Fuji X100T which is a small, compact camera with a fixed 23mm lens, which forces you to move around and get your angle rather than depend on a zoom or that sort of thing. I knew I wanted this image to be square but also ‘dead on flat’ from the front with all the angles as squared up as possible. However, the glass didn’t allow for me to stand right in the front as you could see my reflection (I cannot do much about the cars short of a lot of time in post-production work)
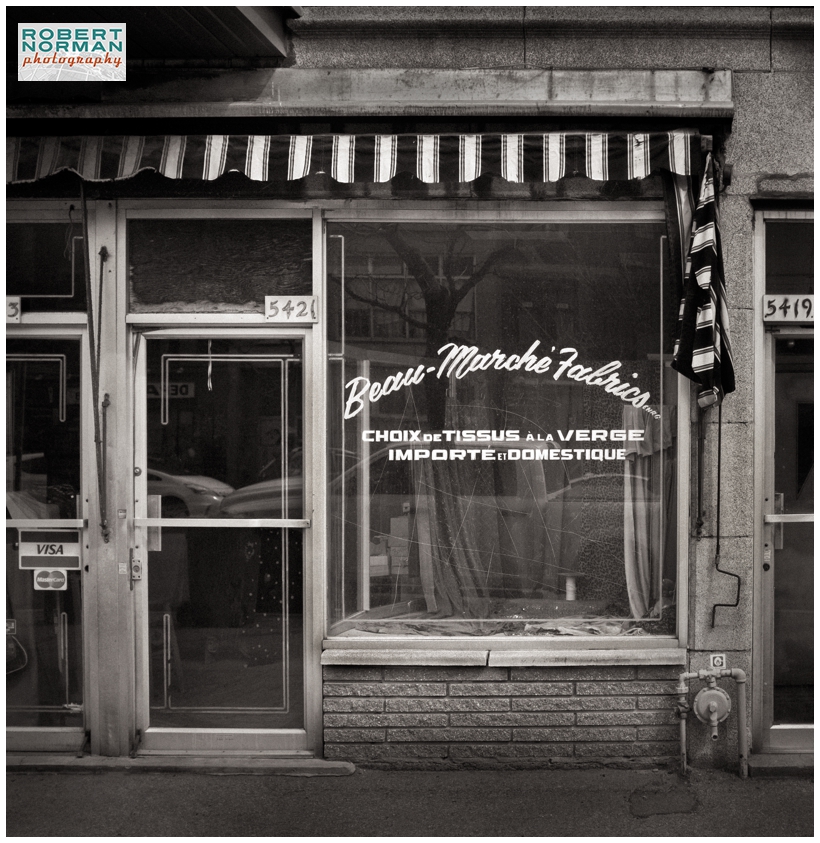
Afterwards in Photoshop, I fussed with this to get the lines as parallel as possible, along with making it a MUCH moodier B&W image (guess I like travel photos gloomy- lol)
In any case – there’s a little behind the scenes of this photo from Montreal!
I can definitely see your talent in this project.
thanks!!!